DIY Smart Thermostat Installation: A Beginner’s Guide
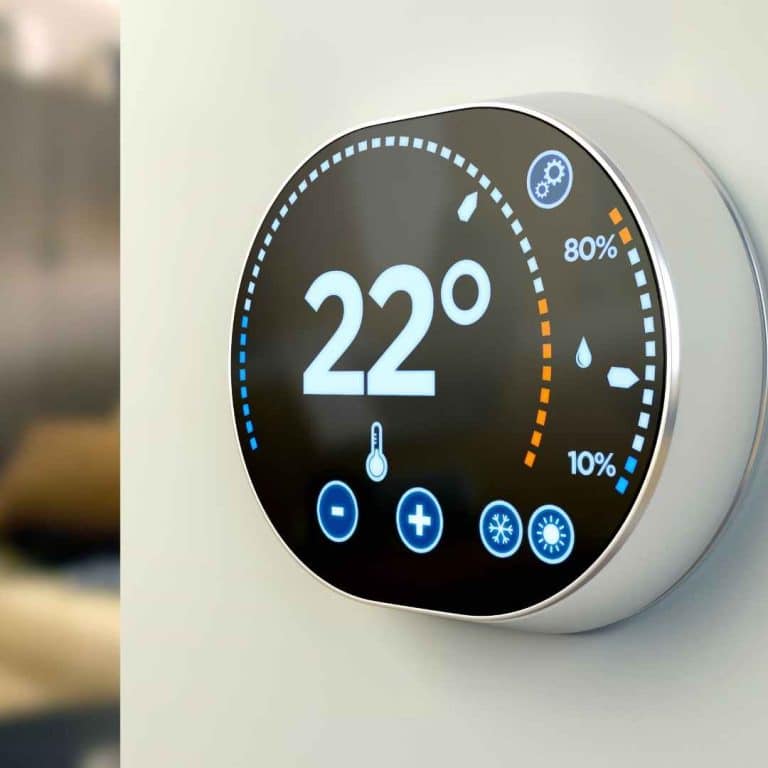
Ready to take control of your home’s climate and embrace the future of comfort? Installing a smart thermostat is a fantastic way to upgrade your home, giving you intelligent temperature control, energy savings, and unparalleled convenience.
While professional installation is always an option, many smart thermostats are designed for easy DIY installation. This beginner’s guide will walk you through the process step-by-step, empowering you to take on this project with confidence.
Before You Begin: Essential Preparations
Before you dive into the installation, gather the necessary tools and information:
- Check Compatibility: Ensure your HVAC system is compatible with the smart thermostat you’ve chosen. Most smart thermostats work with common HVAC systems, but it’s always best to double-check.
- Gather Your Tools: You’ll typically need a screwdriver (Phillips and flathead), a voltage tester, wire strippers, and possibly a drill for mounting the new thermostat.
- Turn Off the Power: For safety, turn off the power to your HVAC system at the circuit breaker before you begin.
- Take a Picture: Before disconnecting any wires from your old thermostat, take a clear picture of the wiring configuration. This will be invaluable during the installation of your new thermostat.

Step-by-Step Installation Guide
- Remove the Old Thermostat:
- Carefully remove the cover of your old thermostat. Some models may be snapped on, while others might be screwed in place.
- Once the cover is removed, you’ll see the wiring terminals and the baseplate.
- Disconnect the Wires:
- Using a screwdriver, carefully loosen the screws on the wiring terminals and disconnect the wires from your old thermostat.
- As you disconnect each wire, label it with the corresponding terminal letter (e.g., R, W, Y, G, C). You can use masking tape and a pen for this.
- Install the New Baseplate:
- If your new smart thermostat comes with a new baseplate, install it on the wall using the provided screws.
- If you’re using the existing baseplate, make sure it’s clean and free of any debris.
- Connect the Wires to the New Thermostat:
- Consult the wiring diagram that came with your new smart thermostat. It will show you which wire goes to which terminal.
- Carefully connect each labeled wire to the corresponding terminal on the new thermostat’s baseplate. Make sure the connections are secure.
- Mount the New Thermostat:
- Attach the new thermostat to the baseplate, ensuring it’s level and securely in place.
- Some smart thermostats may require batteries. If so, install them according to the manufacturer’s instructions.
- Turn the Power Back On:
- Once the thermostat is mounted and the wiring is complete, turn the power back on to your HVAC system at the circuit breaker.
- Your new smart thermostat should power on and begin its setup process.
- Connect to Wi-Fi and Configure:
- Follow the on-screen instructions on your smart thermostat to connect it to your home’s Wi-Fi network.
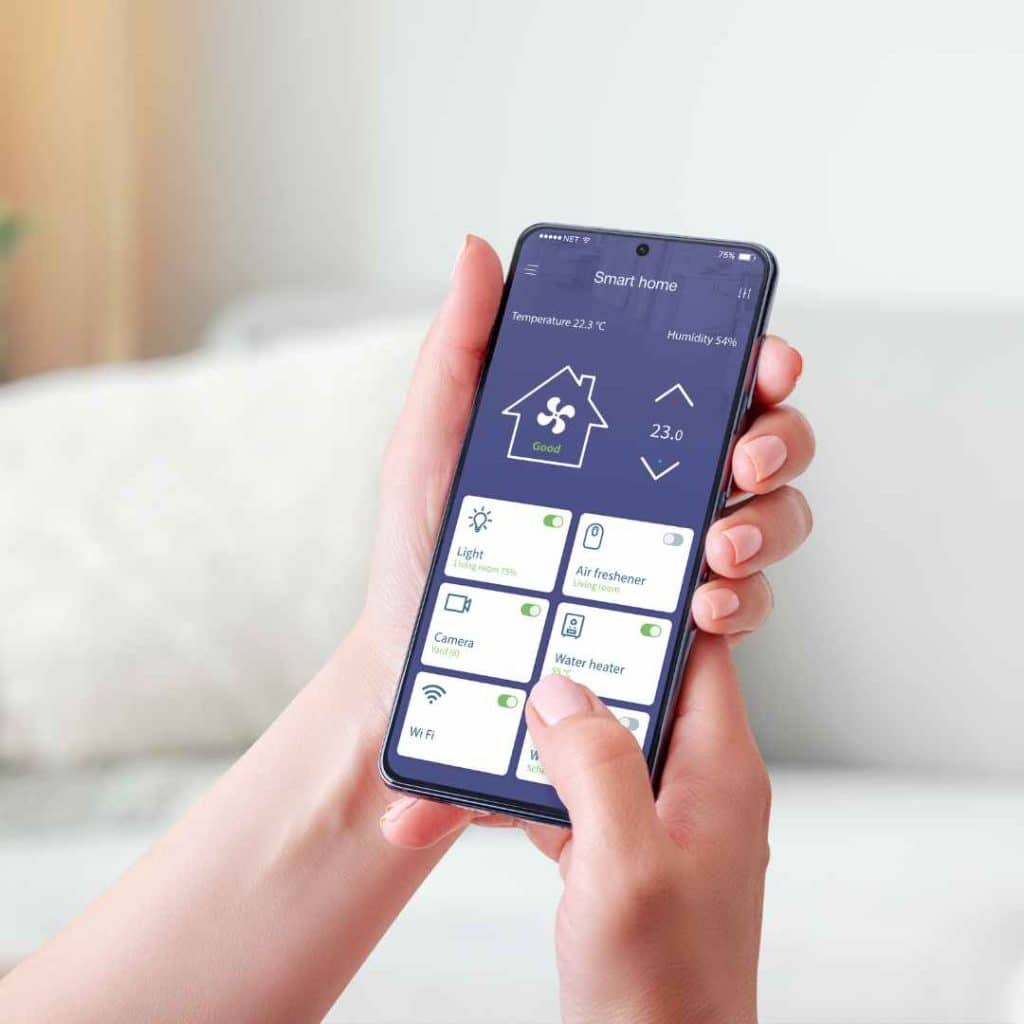
- Download the manufacturer’s app on your smartphone or tablet and follow the prompts to complete the setup process.
- Configure your preferences, such as temperature schedules, preferred comfort settings, and any additional features your smart thermostat offers.
Troubleshooting Tips
- Wiring Issues: If you encounter any problems, double-check the wiring connections against the wiring diagram and the picture you took of your old thermostat.
- Power Problems: Make sure the power to your HVAC system is turned on and the circuit breaker hasn’t tripped.
- Compatibility Issues: If you’re having trouble connecting to Wi-Fi or configuring the thermostat, consult the manufacturer’s troubleshooting guide or contact their customer support.

Richard’s AC: Your Smart Home Partner
Need help choosing the right smart thermostat or want to ensure a flawless installation? Richard’s AC & Appliance Repair is your trusted partner for smart home solutions in Lake Worth, Wellington, Royal Palm Beach and the surrounding areas in Palm Beach County. Our team can provide expert advice, professional installation, and ongoing support to help you maximize the benefits of your new smart thermostat.
Embrace the future of home comfort and take control of your climate with a smart thermostat. With a little DIY spirit and this handy guide, you’ll be enjoying the benefits of intelligent temperature control in no time!


